Kendo Manager task options provides the possibility of recording the project tasks, the monitoring of tasks, assigning team members, defining of resources, upload documents on task, comments.
- In order to create new task on project, click the item tasks and you see the list of project tasks which you can sort, search and reorder the tasks.
- Click the button New task from the list of tasks to create the new task .

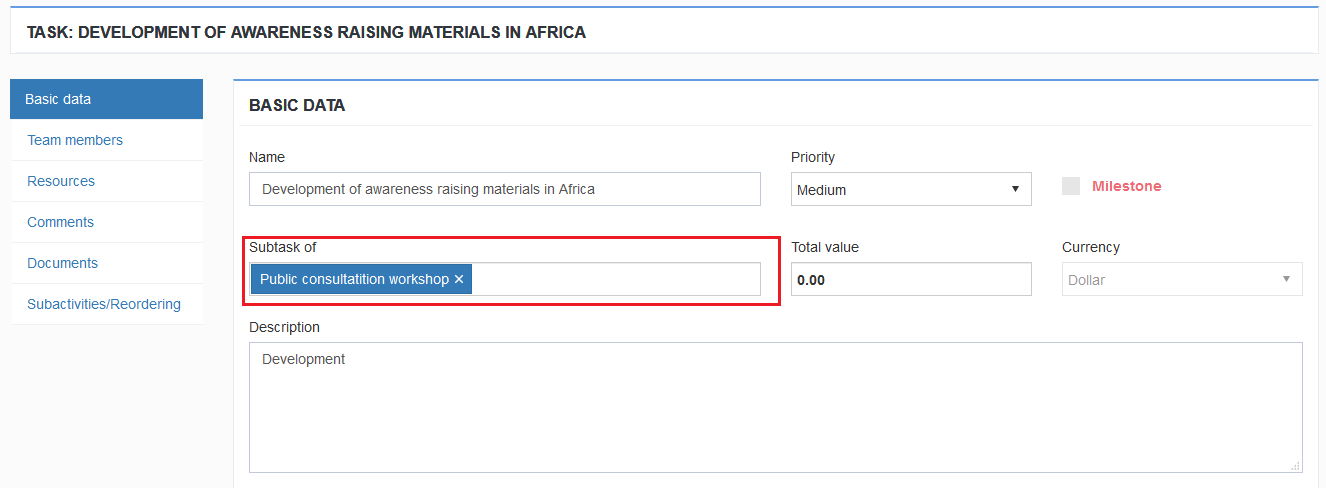
3. Fill the form Basic data and click the button Save to get the other options within the new task.

Note : Upon finishing the assigned task, team member informs project manager via message (inform the user) and post a comment. After prepared information,project manager performs the control,select check box finished and enter the date in the box finished if the task was successfully finished. On the basis of this action the process will automatically move at user’s dashboard on the list of finished tasks (Manual, My dashboard).
If Project manager wish to reactivate the task, it is necessary to deselect check box finished, delete the date in box solved, change deadline if it is expired, save the change and inform the team member by message (option notify users).

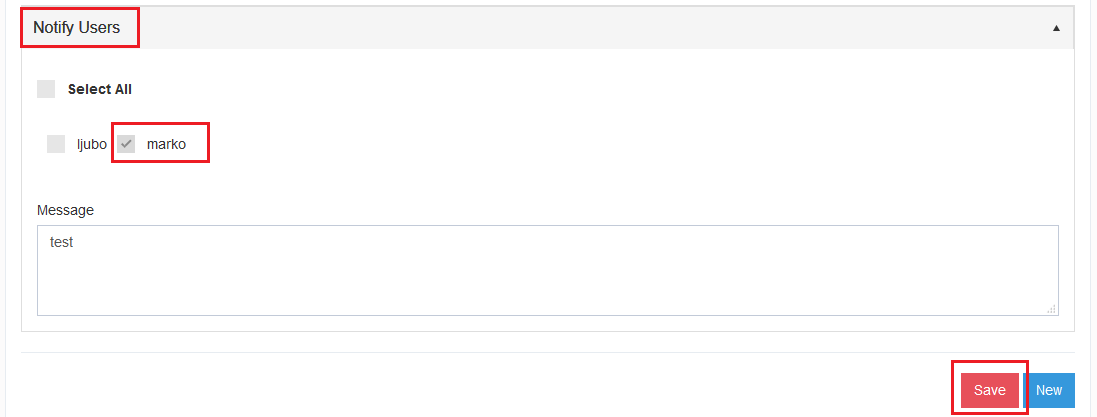
4. After you saved a task, within basic data you get an option Notify Users. If you wish to inform project team members, this option enables you to send e-mail from the form. Fill the form, select the team member and click the button Save.
After you saved basic data for the task, you got the other task-related options on the left side.
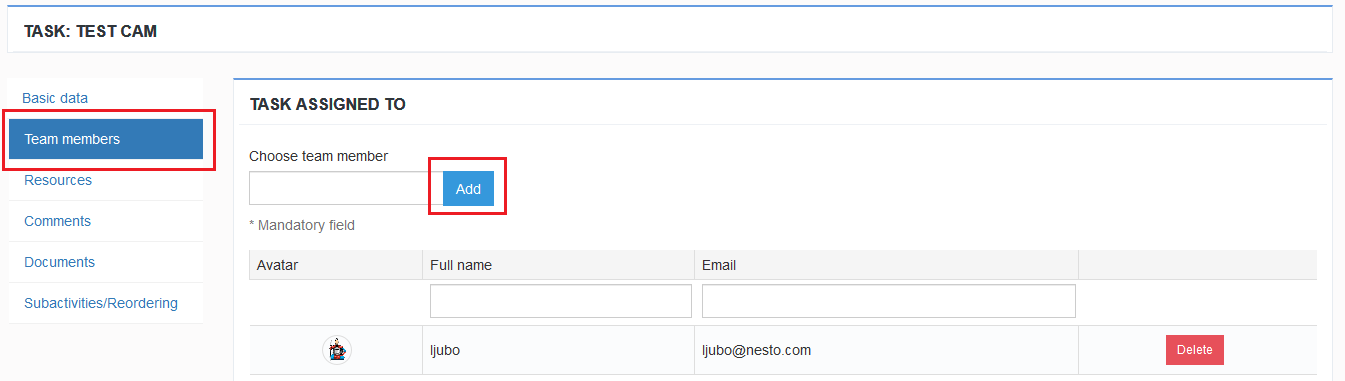
5. Team members – Click the tab Team members . In the box Select team member choose the user (it is enough to enter just one letter to appear the user from the list) . Click the button Add and assign the task to team member who is responsible for the realization. Assigned task will automatically appear on dashboard of user (paragraph 2.2.). The user receives automatically e-mail with information about assigned task.
6.Resources
To define the resources used for realization of the actions, click the tab resources. Enter the title of the resource and choose the category. In case that you want inform other team members, fill the form Notify Users. Then click the button Save.

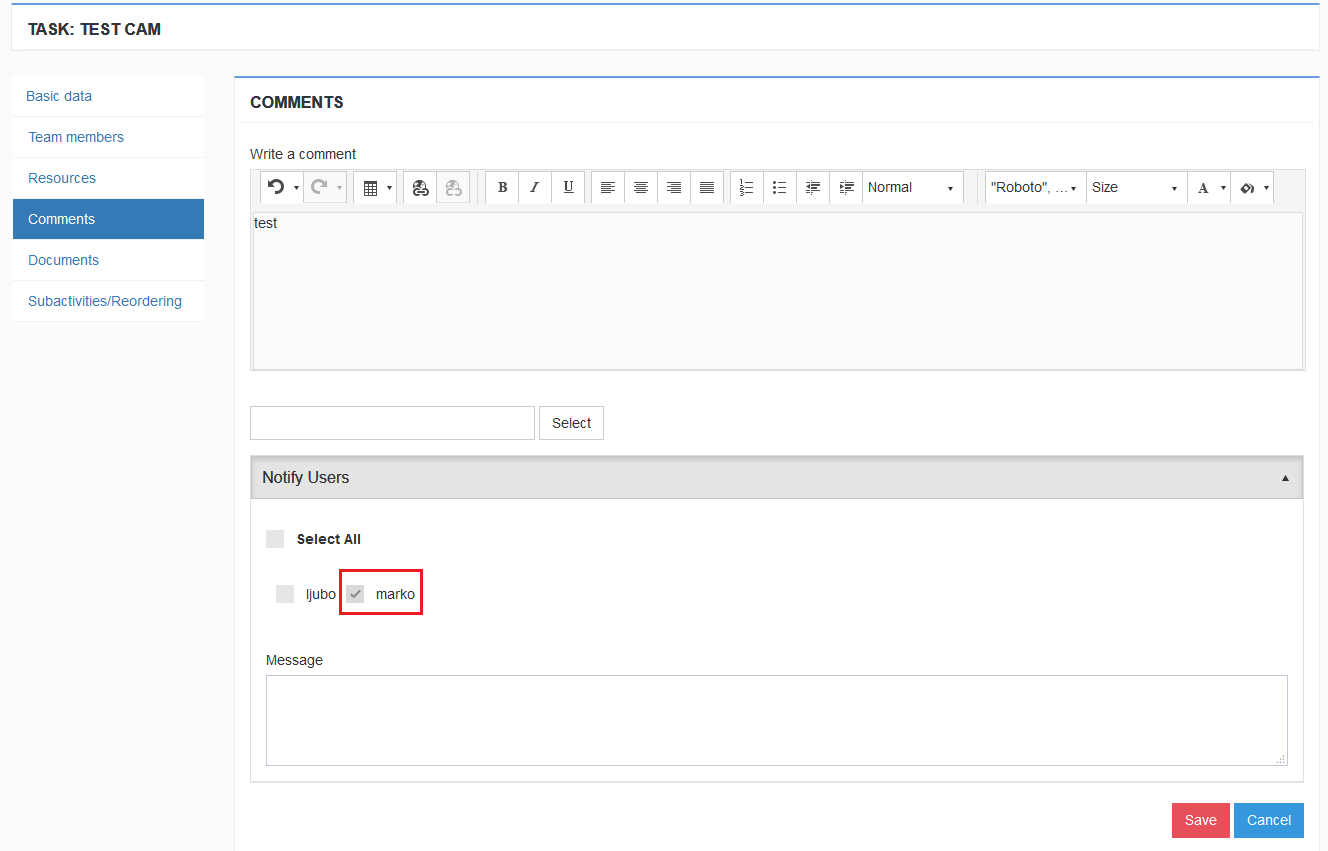
7. Comments
Option comments serves for discussion of project team members i.e. to post comments regarding the task progress. Click on option comments. Fill the form comments. Upload the document if you have it at your disposal. If you want to inform the other team members click on the Notify Users. After you filled the form click the button Save.
Note :
- Each member of project team can delete just own comments .

8. Documents
The option Documents is aimed to store the documents and files relating to realization of specific task.
Click the button Select. Choose document- enter the description of document and click the button Save.
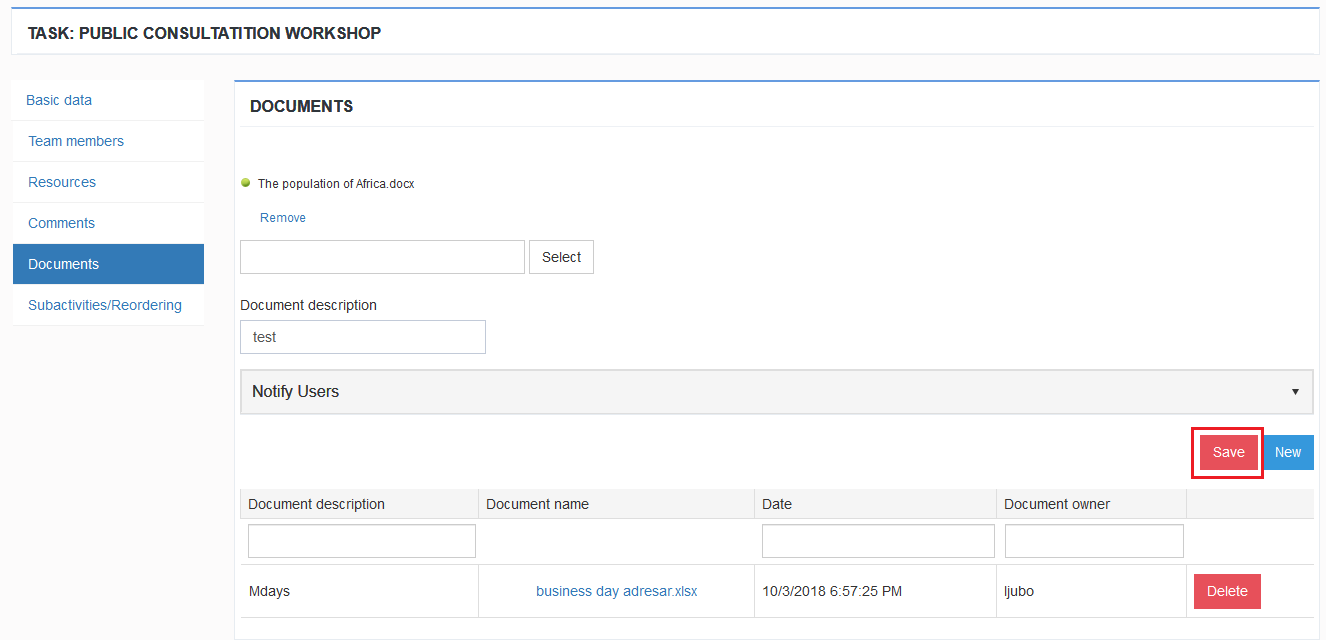
Note : Users who hold the project role Team member (3.6. Project team) can put the documents but they do not have the permission to delete the documents or to make changes. Those rights are predefined to project manager.

9. Subtasks (reordering )
When a task consists of subtasks (1.1., 1.2, 1.3, 1.3.1) you can make the reordering using this option. Kendo Manager supports existing of up to 4 sublevels in activity.